Are you stuck with the problem of removing paint from a wooden surface? If yes, this article will be your perfect guide to help you out.
We’ll explain how you can use a sander to easily remove the paint and give it a fresh new look. So, don’t wait any longer and read on to find out!
Whether you are looking to refinish an old piece of furniture or do a quick touch up job on a chair or table, removing paint from wood with a sander is a task that requires careful preparation and technique.
Sanding is the best way to remove layers of paint from most types of wood, but it should be done carefully in order to avoid damaging the wood itself.
This guide outlines the steps for preparing for this job, sanding off your paint, and finishing with top coats or other sealants. By following these directions, you will be able to restore your wooden furniture or items quickly and efficiently.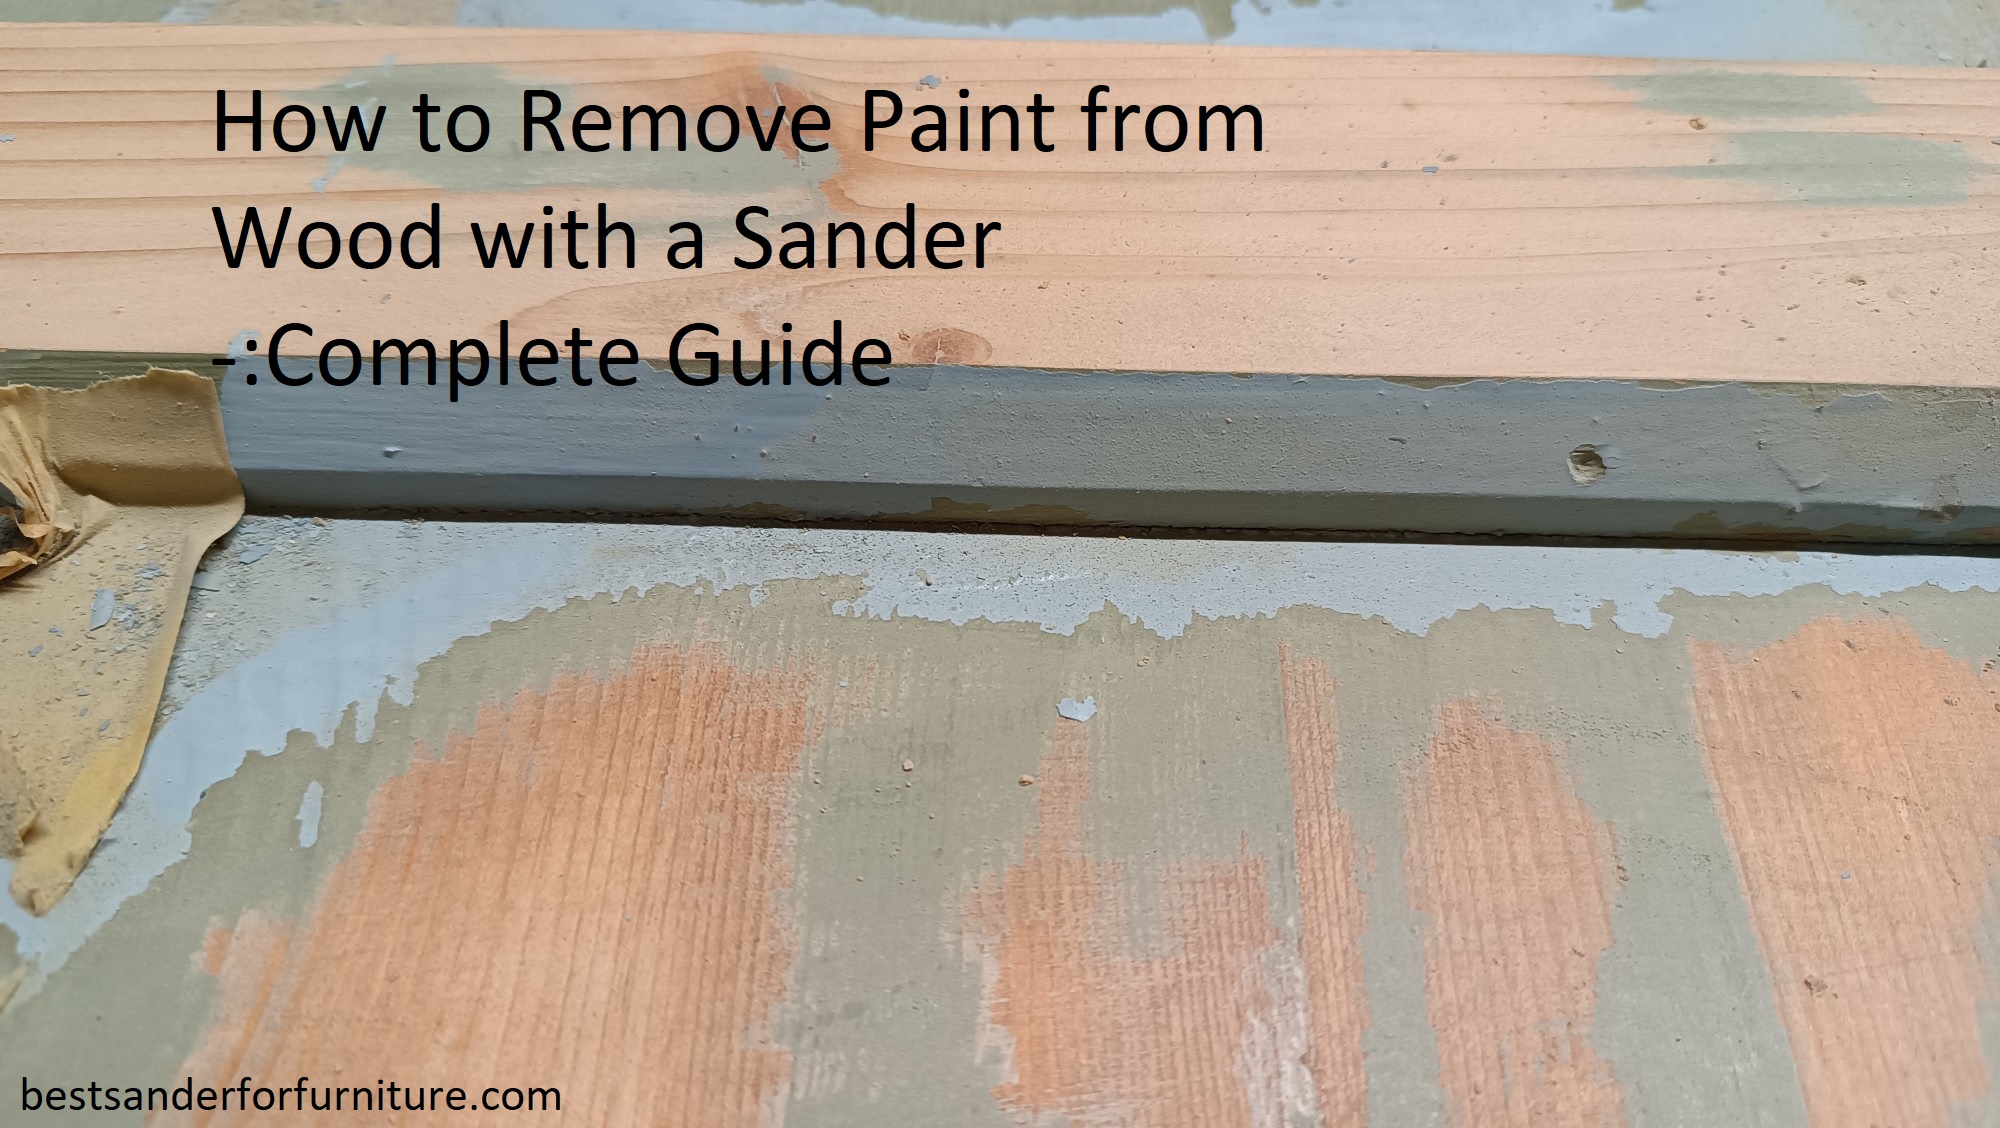
Brief explanation of why removing paint from wood with a sander is necessary
Removing paint from wood has many benefits, both aesthetic and practical. By removing the old paint, you can restore the natural beauty of the wood while ensuring that any new paint adheres properly.
Using a sander to remove paint on wooden surfaces is a fairly simple process. In most cases, removing multiple layers of paint requires sanding down to get all of the underlying layers off. The amount of force and type of sandpaper used will vary depending on how many coats are present. Sanding down all the layers may take some time and effort, but these steps can save you money by increasing the lifespan of your painting project – especially if you plan to repaint immediately afterwards.
Importance of proper removal techniques to avoid damage to wood surface
When removing paint from a wooden surface, it is important to use the proper techniques to preserve the wood’s condition. Failure to adhere to proper removal methods can lead to damages that can make sensitive wood surfaces look dull and faded. Fortunately, there are techniques that allow for paint removal from a wooden surface without causing any permanent damage.
One of the most popular ways of removing paint from wood is with sanding equipment. Sanders are great tools for destroying coats of paint on hard surfaces. They work by allowing the user to control how much sanding pressure is applied and how many times it’s passed over any given area. In addition, multiple types of sanders exist, so you can choose which one best fits your needs for each job. When using a sander, it’s important to set it at a medium pace and in an even pattern along the entire surface being sanded. This will ensure that too much pressure isn’t applied in one spot and allow the sander to work efficiently on the paint all over, not just here or there.
When using a sander on wood furniture or cabinetry, always be sure to start with coarse-grain paper and gradually increase its fineness as more layers come off along with the paint until only new wood surfaces are visible through the grain paper sheets. Always keep in mind that large particles may require more passes across your project before being safely buffed away without marring your furniture or cabinetry’s surface look or finish. Additionally, be sure when done sanding not to leave any swirled patterns in the final finish because this will give away tell-tale signs that you’ve been working on the piece when finished staining or varnishing instead of looking like an original factory-finished job!
Materials Needed
Sanding is an effective and reliable way to remove paint from wood. The process involves the use of a power sander and various grades of sandpaper in order to thoroughly remove the old layers of paint. Additionally, protective gear like dust masks and gloves should be worn while sanding in order to avoid inhaling dust particles or contact with debris that can cause irritation.
The following materials are necessary when it comes to removing paint from wood using a sander:
-Power Sander: Generally, a power sander with variable speed support is recommended for working on wooden surfaces as it helps control how much pressure is applied on the surface. As for type, standard electric sanders or orbital sanders are optimal for sanding away layers of old paint.
-Sandpaper Sheets: Different grades or grits of sandpaper may be used for best removal results depending on the type of surface that needs attention. For general use, 80-120 grade papers work fine – a low grade being recommended if there are multiple layers of old varnish and color. According to instructions on the paper packaging, some types need lubrication with water while others may require special cleaning solutions before being thrown away ever final use.
-Protective Gears: It’s important that basic protective gears like dust mask, goggles and gloves must always be worn when using any kind of power tools even if it only involves light duty task like sanding away old paint layers from wood surfaces – this will help avoid inhalation of dirt particles while simultaneously protecting skin from any contact with sharp edges.
List of necessary tools and equipment to remove paint from wood with a sander
Before you can use a sander to remove paint from wood, there are a few tools and pieces of equipment necessary. Here is a list of essentials that you’ll need:
- Dust-proof goggles: Safety goggles help protect your eyes against paint chips and dust.
- Ear protection: To protect your hearing, noise-canceling ear plugs or headphones should be worn while sanding.
- Respiratory mask: A respirator mask or single-use face mask with an attached filter will help keep any strong fumes from irritate your lungs.
- Knee pads/knee covers: Pads or covers will cushion your legs and knees during the sanding process to prevent any strain on the joints.
- Sandpaper grits: There are a variety of different levels of coarse sandpaper available, ranging from 40 to 600 grits. Make sure to invest in the correct abrasive for the job at hand; anything too coarse might gouge the wood, while too fine won’t have any effect on removing paint from the surface.
- Sander types: Depending upon what job you’re undertaking, it’s best to use a belt sander (especially if it’s covering larger areas), an orbital sander, or detail sander (for smaller jobs).
- Vacuum cleaner or brush/pan system: To suck up fine particles created by sanding and prevent them settling on surfaces around your work area, a vacuum cleaner may be used alongside brushes and pans which is less expensive alternative instead of using large vacuums.
Explanation of the purpose of each tool/equipment
Removing paint from wood can be a tricky process, especially if you are dealing with a surface that has intricate details or is multiple colors. But with the right tools and some careful sanding, it can be surprisingly effective. When sanding paint off wood, it’s important to use clean sander heads and the proper grain of sandpaper for the job. Additionally, using a primer between coats of paint will make your job easier in the long run. Here’s how to properly remove paint from wood with a sander:
Tools:
-Sanding Block: A block of foam rubber covered in sandpaper is ideal for detail work on corners and crevices.
-Orbital Sander: This type of sander is designed to make quick work of tedious jobs like removing layers of old paint or smoothing out rough patches. It’s able to get into tight spaces thanks to its oscillating head and is available in both handheld and cordless models.
-Belt Sander: Perfect for removing large amounts of material quickly, belt sanders are great for tougher jobs like stripping multiple layers of old paint from large surfaces such as cabinets or doors. They require strong safety procedures as they generate more heat when in use than other types of sander – it’s important to always keep them moving across the surface you’re working on to avoid damaging the wood beneath the paint layer.
-Sandpaper Sheets: Sandpaper sheets come in different grades – choose one suitable for your task at hand – most tasks will require medium-grit or coarse paper depending on how many layers need to be removed. Make sure that you have separate sheets for each stage (i.e., initial removal, finessing) as well as wet/dry sandpaper depending on if you are working inside or outside and if it is raining or not outside when completing your work.
Preparation
Before using a sander, it is important to prepare the area properly. Begin by wiping down the surface with a moist cloth. If any dirt or stains remain, they can be removed using an appropriate cleaning agent. Once the area is clean and dry, brush away any loose dust or particles that may have built up on the surface tree.
Next, remove furniture and other items that may be in your way and cover surfaces you don’t want to sand with drop cloths or plastic covering. Finally, put on protective eyewear and gloves before operating the sander. Be sure to wear a dust mask as well – sanding can release potentially hazardous particles into the air.
Steps to prepare the wood surface for paint removal
Sanding is a great way to remove paint from wood surfaces. It can also be used to uncover old finishes, scratches and dents, and will help you restore old or damaged furniture pieces. However, before you start sanding, it’s important to properly prepare the wood surface for paint removal. These steps will ensure that you get the most out of your sanding project.
- Begin by using medium-grit sandpaper on the wood’s surface in order to scuff up any existing plastified coatings. This will help open up some of the pores of the wood and give the sander a better grip on the surface when it begins really grinding away at those layers of paint.
- Once you have scuffed up the surface with medium-grit paper, switch to a finer grit sandpaper (e.g., 120 grit). This grit is going to allow for a smoother finish and will result in less dust as you are removing paint from your wood project pieces.
- After switching out your sandpaper grits, it’s important to thoroughly clean off the surface again with a hot damp cloth or some mineral spirits in order to remove any dust or debris that may remain after all of your sanding efforts so far. This will help ensure an even finish when applying new coatings or sealants after completing this project.
- Finally, use an orbital sander with high-grit paper (220-400) for a super smooth finish and make sure all sawdust has been completely wiped away before moving onto instilling new paints or finishes on your wooden surfaces!
Explanation of the importance of proper preparation
Before attempting to remove paint from wood, it is essential that the surface of the wood is prepared correctly. This involves making sure that any dirt and debris are removed, that the surface is flat, and that all nails and screws are removed. It also means ensuring that there are no cracks or indentations in the wood, as these can be difficult to eradicate when removing paint.
In addition, proper preparatory work should involve filling any holes or gaps with wood filler so that they don’t create an uneven surface when the paint is removed. Once this preparatory work has been completed, you can begin sanding using a belt or orbital sander.
Sanding Techniques
When it comes to sanding your project, there are a few different techniques you can use. The type of technique you’ll use will depend on the type of paint and how much is on the wood, as well as how much time and effort you want to put into the job.
One technique is dry sanding which involves using just a sander with medium-grit sandpaper attached. This method works well in cases where there is not too much paint on the wood, however it can take some time and it won’t remove all of the paint.
Another popular technique is wet sanding which uses a sander and water along with an absorbent paper towel or cloth to keep the area saturated while you work. This method can be used with more heavily-painted wood and produces faster results.
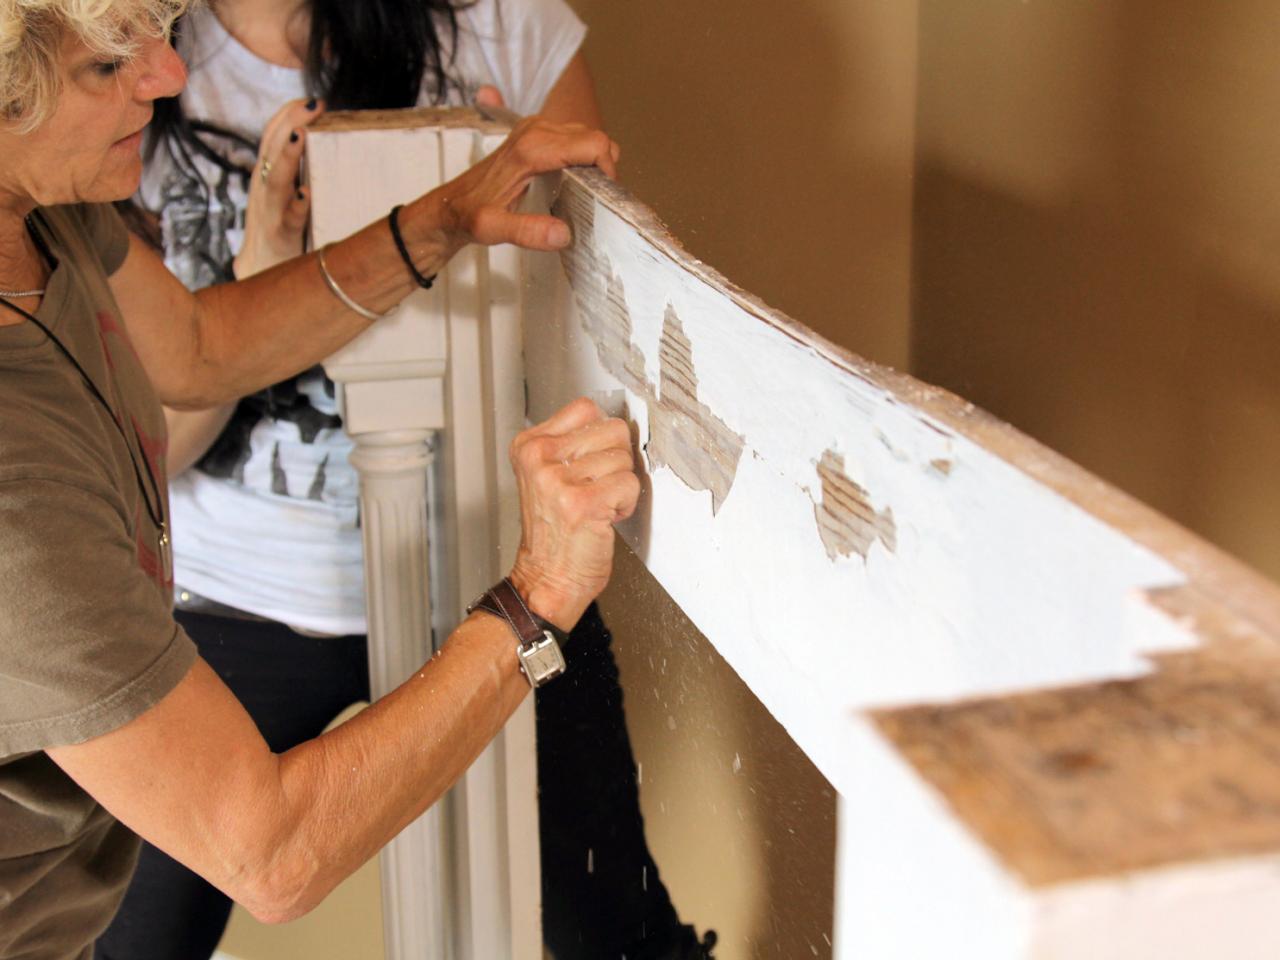
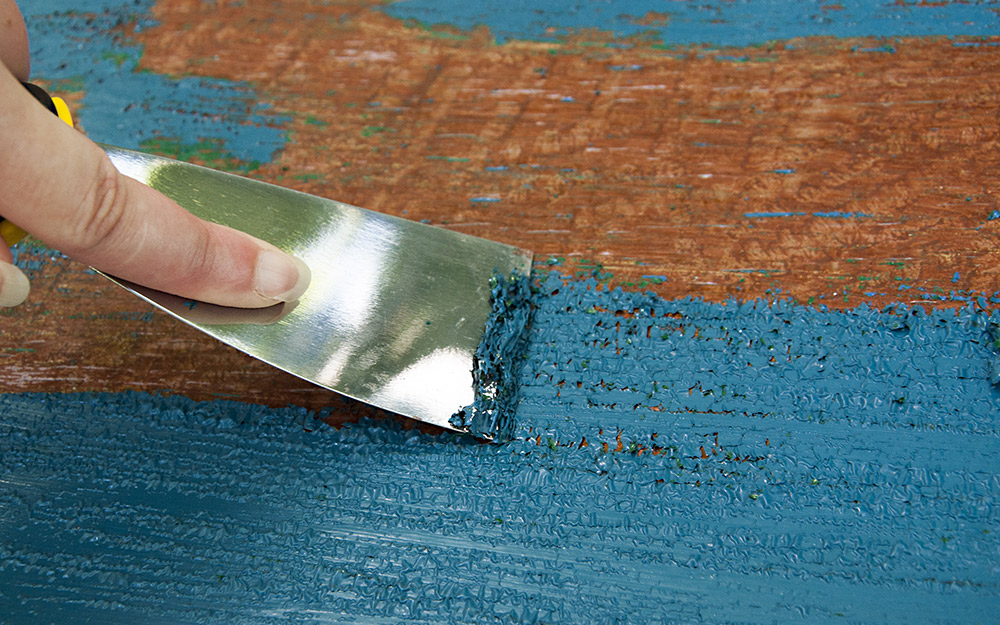
Scraping is also an option for removing paint from wood surfaces with a sander, although this should only be done if all other techniques have failed or are not practical given your project’s size and circumstance. Start by lightly rasping away at any thick areas of paint before switching to a finer grit of sandpaper to finish off the job. Be sure to wear safety glasses when scraping or rasping away at the surface material as it can easily kick up dust or splinters that could cause injury!
Explanation of the different sanding techniques
There are many different methods for sanding off paint, and each technique comes with its own set of pros and cons. If you are looking for a quick and easy solution, sanding is one of the best options. Before you begin, be sure to wear appropriate safety gear, including dust mask, goggles, and gloves.
Coarse Sandpaper: Coarse sandpaper will be able to quickly remove paint from wood surfaces. It’s best used when the majority of the paint is still intact as it can leave scratches and other imperfections on softer woods. However, it’s often the ideal choice if you need to prep the wood surface for painting or staining. Generally speaking coarse grits range from 40 to 80 with 80 being the roughest.
Medium Sandpaper: Depending on how much paint needs to be removed medium grits usually range between 100 – 180 paper will often be enough. While this paper won’t leave any fine scratches or marks like a course paper it still might not provide a smooth enough finish if you’re looking for something more exacting or delicate such as finely finished furniture or cabinets.
Fine Sandpaper: This type of sandpaper is often used for finer jobs such as preparing furniture or cabinets for refinishing as it can provide a smoother finish than medium grades. The best use would be in places where precise detailing needs to be achieved such as trimming around door frames or window casings We suggest using grits ranging from 220 – 400 depending on the project at hand however anything below 220 should not have abrasive properties which make them effective in sanding off old paint coatings but instead can create an ultra smooth surface which might not adhere well when refinishing with stain or polyurethane finishes.
Very Fine Sandpaper: For finishing projects which require extreme precision an even finer grade than what was mentioned earlier could be sought out This very fine grade is also great if trying to avoid any erosion of detail in wood carvings Typically these types of papers come in anywhere between 400 – 1000 grits with higher numbers representing finer grains.
Discussion of the appropriate technique for different wood surfaces
When using a sander to remove paint from wood, you’ll need to consider the differences between hardwood and softwood surfaces. Hardwoods like birch, cherry, oak, and mahogany tend to be more dense than softwoods like pine and cedar which are softer and easier to dent or scratch while sanding. You should also pay attention to the grain of the wood; if there is a lot of grain then use a courser grade of sandpaper, or else you may gouge out large chunks of wood during sanding.
For hardwood surfaces, it is important that you use a progressive system of increasingly fine grits over several passes with the sander in order to prevent damaging the surface layer. Always start with lowest rate of 80grit sandpaper and as you move up through 120 – 150 -180- 240grits you should gradually reduce pressure on the sander for each pass until it leaves behind an almost smooth finish. If scratches are still present after using 240grit sandpaper then use some refined steel wool for final polishing before painting over it again.
Softwood surfaces require a more aggressive approach since they are less resilient than other woods. Start with 60 grit sandpaper which will remove thick paint more efficiently but do not forget to follow up last pass with 180grit paper for slight finer finishing before painting over it again. It is important that you always keep your sander moving throughout this process; focusing too much on any one spot can cause severe damage to your wood surface through burn marks, gouges or divots. You should also make sure that your vacuum hose is firmly attached during this process in order reduce dust inhalation hazards as work proceeds.
Importance of wearing protective gear when sanding
When attempting to remove paint from wood with a sander, it is important to remember that the process can be potentially hazardous. While sanding, particles and dust from the wood and paint can be dispersed into the air, which can cause irritation to eyes and skin. It is highly recommend that you wear proper protective gear when sanding an area in order to ensure your safety.
Protective equipment typically includes safety goggles or glasses, ear protection such as protective headphones, a respirator mask for breathing, and a dust mask for your nose and mouth. Additionally, rubber gloves and long sleeves offer further protection from moisture or dangerous particles that may come in contact with your skin. Also make sure to use caution when plugging in and using an electric sander in order to avoid any preventable injuries.
Conclusion
Overall, removing paint from wood with a sander can be a relatively easy task for most DIYers who want to tackle the job themselves. Of course, more experienced refinishers may even bring out more desirable results from the project. Just remember to use the proper sanding techniques, materials and tools for best results in restoring a smooth finish to your wood surfaces.
In addition, don’t forget safety precautions when using power sanders and it’s equally important to wear eye protection, respirators and protective apparel when selecting paint strippers or chemicals meant for cleaning not just paints but stains as well. For those working in enclosed spaces, it is recommended that you open up the windows or adopt other ventilation measures. With proper preparations and care during all stages of the project you can successfully take on the job of removing old paint from wood with a sander!
FAQ’S
What is the fastest way to sand paint off wood?
Using a paint stripper or a heat gun is typically faster than sanding for removing paint from wood.
What is the best sander for taking off paint on wood?
Belt sanders and random orbital sanders are both effective for removing paint from wood.
What is the quickest easiest way to remove paint from wood?
Using a paint stripper is usually the quickest and easiest method for removing paint from wood.
What is the best method of removing paint from wood?
The best method for removing paint from wood depends on the situation, but options include sanding, using a paint stripper, or using a heat gun.
What is the best sandpaper to sand off paint?
60 to 100 grit sandpaper is typically best for sanding off paint from wood.
Is it safe to sand painted wood?
It is generally safe to sand painted wood, but proper safety precautions should be taken to avoid inhaling dust and fumes.
Do I have to sand all the paint off wood before painting?
It is not always necessary to remove all of the paint before repainting wood, but the surface should be clean, smooth, and free of loose paint.
Should I strip paint or sand it?
Whether to strip or sand paint depends on the situation, but stripping is generally quicker and easier for removing multiple layers of paint.
What is the best sandpaper for wood?
The best sandpaper for wood depends on the project and the stage of sanding, but a common range is 80 to 220 grit.
How long should I sand wood?
The length of time needed to sand wood depends on the size of the project and the condition of the wood, but it is generally best to take your time and work slowly for the best results.
See more
- Best drywall sander 2023
- Best hand sander 2023
- Best handheld belt sander 2023
- Best metal sander 2023
- Best orbital sander 2023


