Do you want to give your hardwood floors a brand new look but don’t know how? Sanding hardwood floors with a floor sander can be a daunting task, but this guide will make it easier for you!
From what type of sander to choose to the steps for sanding and staining, everything is explained in detail below.
Sanding hardwood floors is a necessary part of maintaining and refinishing the beauty of your flooring. Sanding removes imperfections that have accumulated over time and prepares your floors for staining, polyurethane, or other desired finishes. This guide provides an overview on how to properly sand hardwood floors with a floor sander in order to achieve a beautiful, durable finish.
Before You Start
It’s important to plan ahead and gather all the necessary materials before beginning the process of sanding your floor. Here’s what you’ll need:
– Floor Sander (Orbital or Drum Sanders) – Sandpaper – Finishing Products – Vacuum Cleaner – Safety Gear (Face Masks, Ear Plugs, Safety Goggles)
- Prepping Your Floor for Sanding
This step is key in ensuring proper results when sanding a hardwood floor. Before you dust off that sander and start sanding away, take some time to properly prepare the surface so as to avoid missteps and costly mistakes. Start by clearing away any furniture from around the room as well as carpets, rugs and anything else that could get in the way of effectively maneuver through each area with the sander. Make sure you clean each area of debris and dust particles before getting started to prevent any imperfections in your finished product by avoiding issues such as creating scratch patterns on bare wood or filling grain with dirt. After all areas have been cleared and cleaned it’s time to get ready to get started!
Preparing for Sanding
Before you begin sanding your hardwood floors, it is important to make sure that the area is properly prepared. This includes making sure that the floor is free of any dirt or debris, as well as any furniture or other items that may be in the way. It is also important to review and understand all safety instructions for using the floor sander.
It’s equally important to inspect the wood and make any necessary repairs before starting, such as filling in missing sections or replacing damaged boards. You may also need to apply a wood sealant before beginning work if there are cracks in your floors or if they have been exposed to water damage over time. Once preparations have been made and all repairs have been completed, it’s time to get ready for sanding!
Clearing the room
Before you make any floor sanding plans, be sure to clear out the room you’ll be sanding in. This means removing all furniture, rugs, and other floor coverings. If there are any openings in the walls that could expel dust, make sure to close them off before turning on the sander.
Once everything is cleared out, vacuum the room thoroughly and clean up any visible dust or debris. All other tools will be needed as you go along but standard protective gear such as a face mask, work gloves and protective eyewear should be worn while sanding.
Make sure the nozzle on the vacuum is adjusted so it’s close to the ground and seal off any cracks or crevices with duct tape or painter’s tape to prevent fine dust particles from escaping into other areas of your home.
Removing furniture and other items
Before you begin sanding a hardwood floor, it is important to prepare the area properly. This includes removing all furniture and other items from the room so that you can work without interruption. Once everything has been cleared, use a broom or vacuum to remove dirt, dust, and pet hair from the surface of the floor. Additionally, use a mild cleaner to wipe down any areas with grease or grime buildup. Once these preparatory steps have been taken, you can begin sanding with your floor sander.
When using a floor sander, be sure that all windows and doors are properly sealed so that no debris is released into other rooms of your home. Most machines come equipped with a filtration system that helps to reduce messes while in use; however, extra caution is always recommended when sanding hardwood floors. Finally, be sure to thoroughly read through all provided safety instructions before beginning a sanding job on your own; doing so should greatly reduce any potential accidents during the process.
Inspecting the floor for damage and making repairs as needed
Before reaching for the floor sander, it’s important to do a thorough visual inspection of the floor. Look closely for signs of any soft spots, rotten boards, loose joints or mold. Also inspect the condition of stair treads and risers.
If there are uneven boards or grooved cracks along the floor length, they should be filled with patching compound. Any loose boards should be refastened with nails or screws and wooden plugs to cover them up. Deep gouges or damage that requires fastening may require sections of new boards to merge in seamlessly with existing ones.
If any water damage is present around vents and baseboards, this needs to be repaired first before sanding begins. Additionally, remove any remaining old carpet glue using a heat gun and masonry blade before sanding so that it does not gum up your sanding machine and create gouges in the wood surface.
Obtaining the necessary equipment and supplies
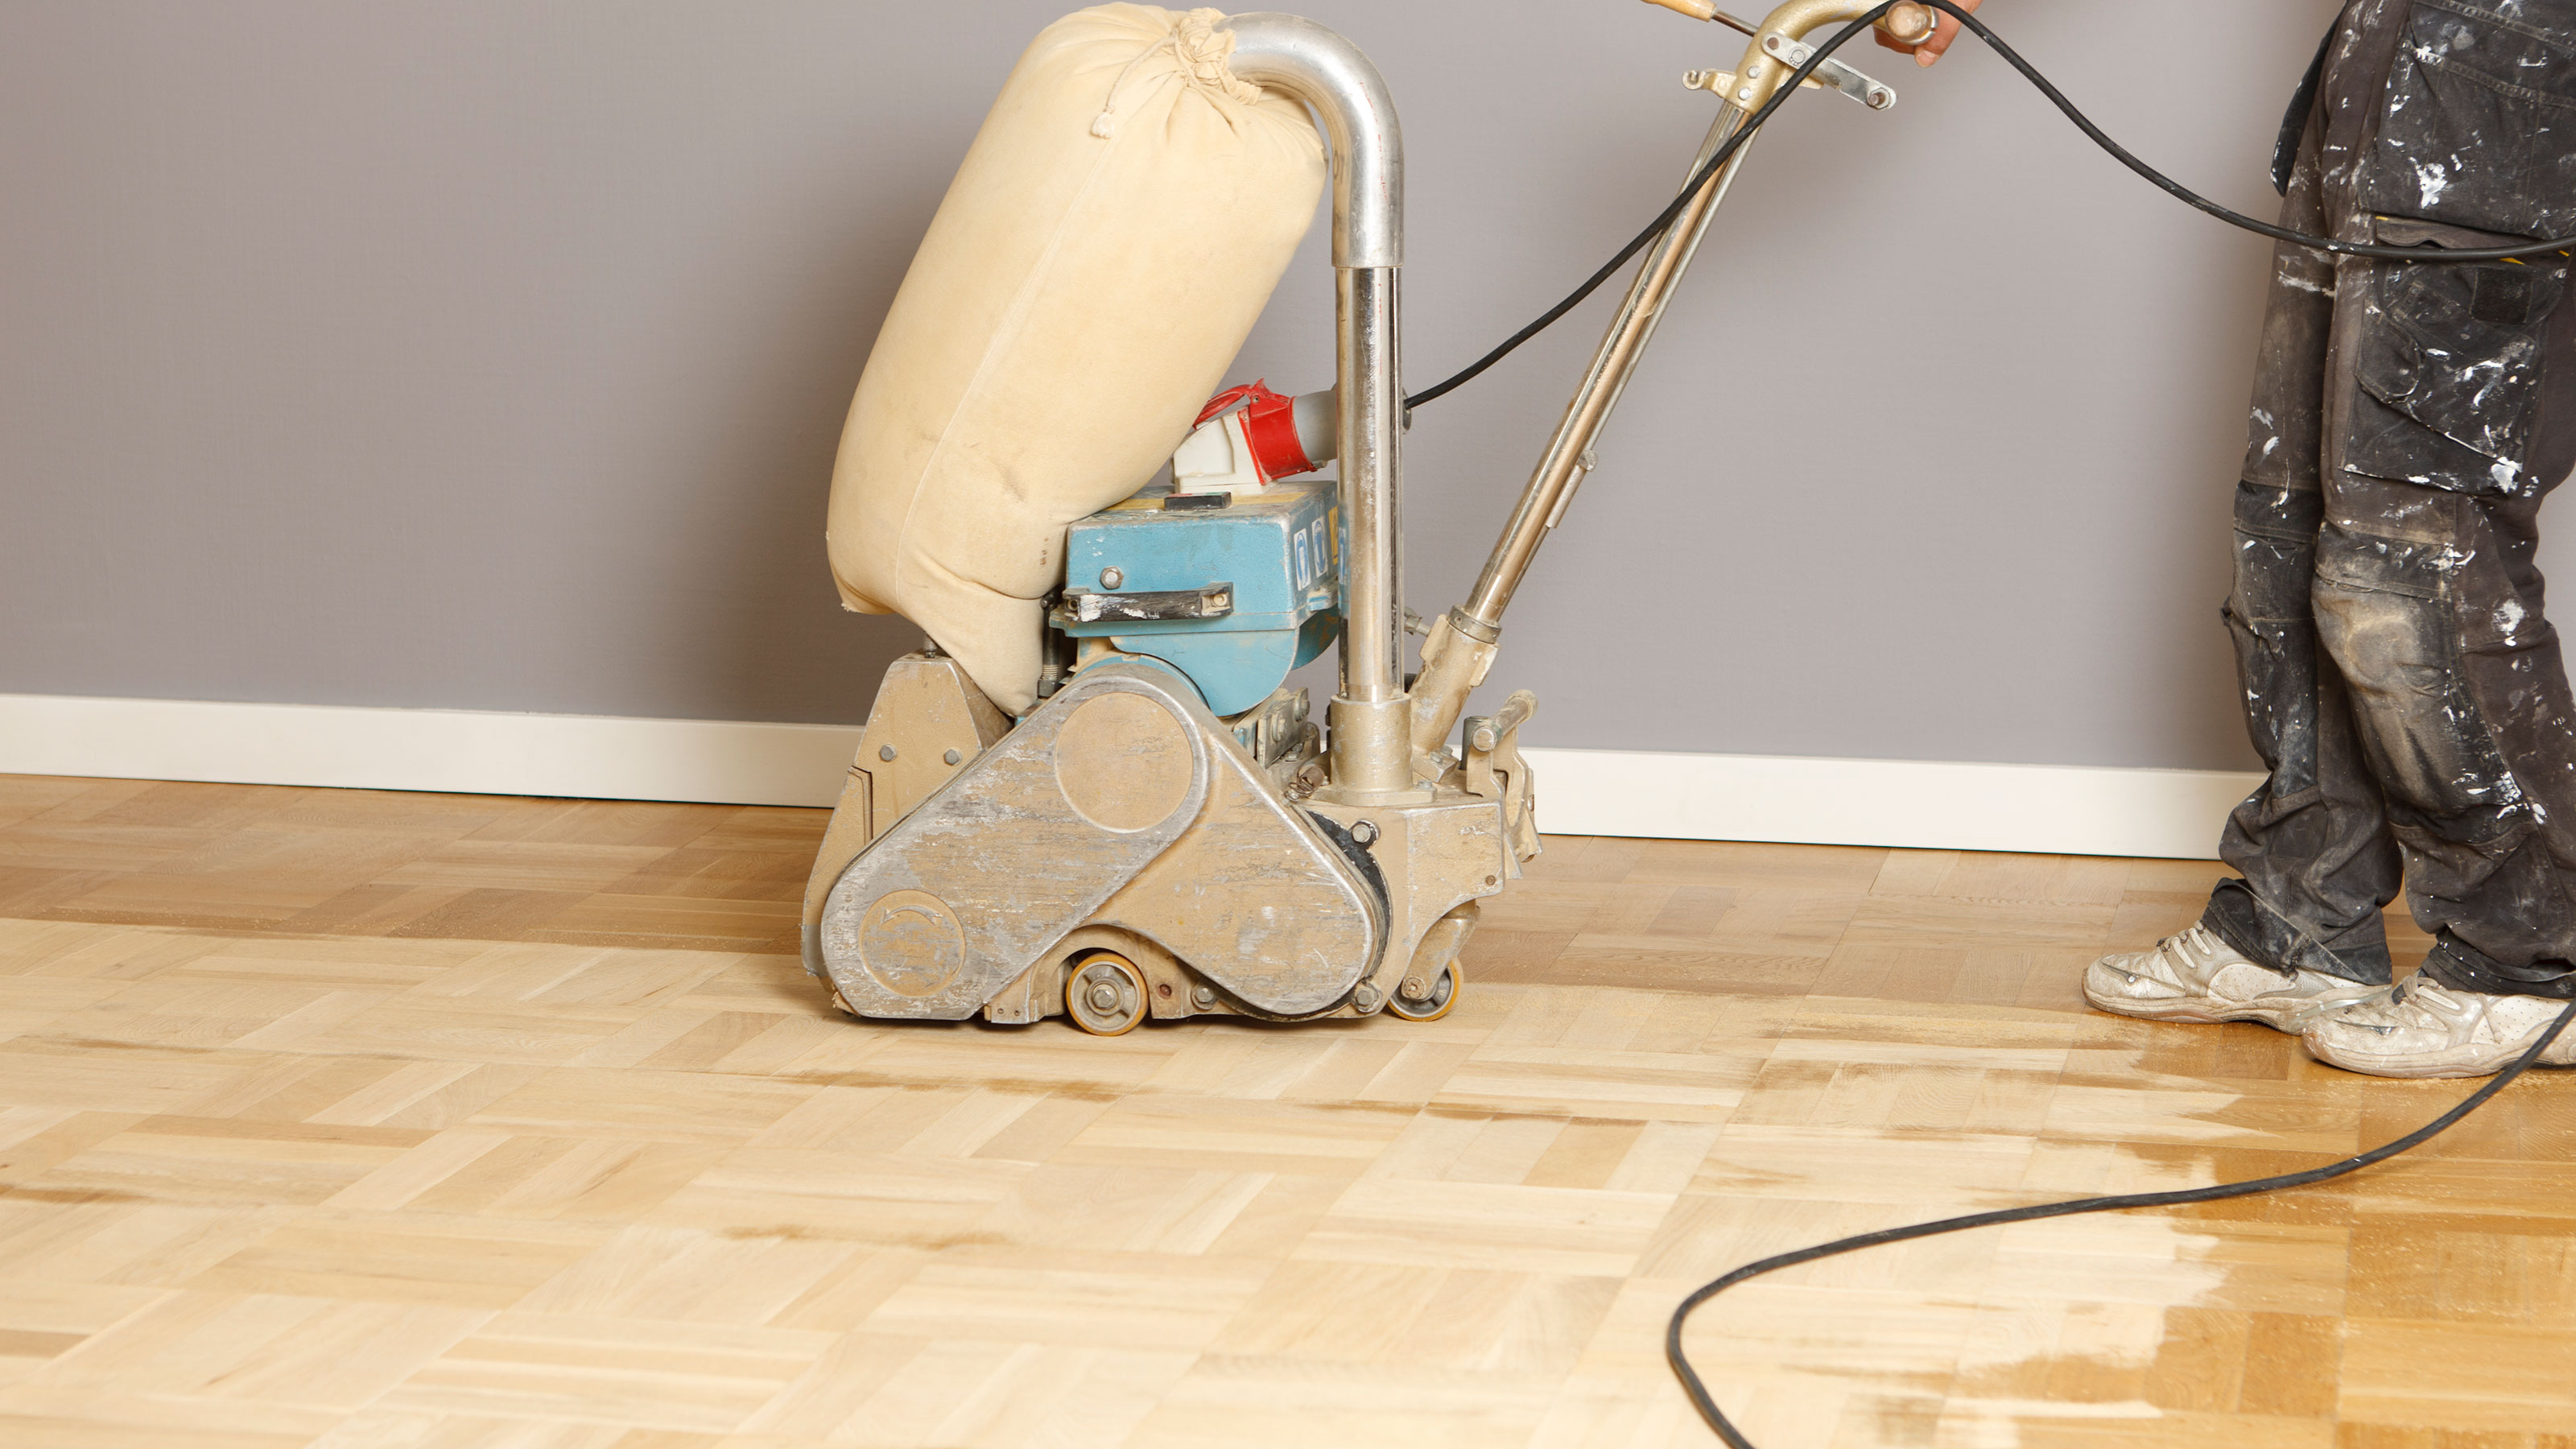
Before you start sanding your hardwood floors, it is important to ensure that you have the right equipment and supplies. The most important piece of equipment is a floor sanding machine. These machines are remarkably powerful and effective at removing old finishes and smoothing wood, but they come in many sizes, types and price ranges. When purchasing a sander, make sure to consider factors such as noise levels, dust containment systems, available accessories, ease of use and portability.
In addition to a sander, you will also need various abrasives for the floor sanding process. Different grades of sandpaper are used for removing different finishes or imperfections in order to obtain the desired level of smoothness on a floor surface. Additionally, it is also important to stock up on other necessary supplies such as masking tape or paper for covering wall outlets, vacuums for removing dust from the premises after each phase of the project as well as wood filler products or wood putty if needed.
Sanding the Floor
The next step in sanding your hardwood floor is to begin running the drum sander. To do this, you will need to know the pattern in which to run the drum sander. Generally, it is recommended that you start sanding along the longest wall of the room and work your way towards the wall against which all other walls are perpendicular.
Start by attaching a medium- or fine-grit sandpaper to drum sander’s mechanical pad. Then, turn on the machine and lower its jaws onto the floor area where you want to begin sanding. You should push forward slowly and steadily so that one edge of its paper pad presses down while other lifts above it slightly so that a thin strip of floor remains unsanded at all times. This technique is called “featheredging” and allows you to blend old and new sections together smoothly for a more level finish.
When you have finished feathering out one section, move on to another section without overlapping it until all sections touched by non-perpendicular walls have been feathered out. Afterward, start sanding lightly stroking away from non-perpendicular walls in order to ensure smoothness in floor’s appearance and make sure there are no undesired lines from where certain areas were feathered out more than others.
Setting up the floor sander
Before beginning to sand hardwood floors with a floor sander, it is important to properly prepare the room. First, move out any furniture and large items as they will get in the way when sanding and finishing. Next, clean the floors of any dust, dirt or debris that could interfere with the sanding process. Vacuum well and then use a damp cloth or mop to remove any rough spots or stains. All repairs should be made prior to sanding to ensure the best results.
Once the room is prepared and all repairs have been completed, set up your floor sander. If there are bumps in the wood that are higher than 1/16” of an inch then use a belt sander first before using a drum or rotary lock sander. Also note that some old wood floors may require different tools for successful repair and refinishing such as edgers or hand held tools for tight spaces. Ensure you have all necessary tools for each step prior to beginning your project.
Your floor sander should be connected according to directions found in either the instruction manual provided with your machine or online by searching your product number online (located on a sticker on your machine). Then select the appropriate type of paper: Coarse grits are used for heavier scratches while fine grits will be used near the end of your refinishing process. Prepare four pieces of paper per grit, so you can avoid punching holes into paper while working in larger rooms. Check along each wall, baseboard area and other areas where different materials may meet – it is important that these areas do not have any loose material which can be caught in between these distinct surfaces . Finally check machine over before turning it on according to instructions from manufacturer – many suggest loading an extra piece of sandpaper onto front rollers but leaving it stationary until you begin working in order avoid possible damage if something lodged between rollers during active machine operation.
Sanding with the coarsest grit sandpaper
The first step in sanding your hardwood floors is to start with the coarsest grit sandpaper available to achieve the desired results. This will help remove any existing stains, dirt or imperfections your floor may have and prepare the surface for refinishing. You should always use a dust-collection system when sanding so you don’t spread harmful particles of dust into the air. The grit of sandpaper you should use depends on the condition of your hardwood floor and type of finish it has.
For older finishes, try using an 80-grit paper to scour away any grit or debris that may have built up over time, while very shiny surfaces may require a more gentle approach with a 120-grit paper. If you’re not sure what type of finish is on your floor, check with a flooring professional before you begin sanding.
Start by working in sections, beginning at one corner of the room and working toward an exit point such as a door or window. Clean as you go by vacuuming up any dust particles so they don’t build up in other areas or interfere with application of new finishes. Be sure to overlap each section you finish slightly so that there are no missed spots between passes from one corner to another. To ensure even coloring throughout the whole room, buff along wall edges or corners where the machines won’t reach but could still cause unevenness on visible areas if there are any variances along those edges (i.e., a slight ‘dark line” running along a wall).
Sanding with increasingly finer grits of sandpaper
Taking the time to sand a hardwood floor properly is essential for achieving a smooth finish and extending the life of a floor. When working with a floor sander, sandpapers with increasingly finer grits must be used, ranging from coarse grits like 24 to 36 grit up to fine or ultra-fine grits of 120 or higher. Sanding hardwood floors with a floor sander requires patience and skill.
Sandpaper generally comes in four main types: aluminum oxide, zirconia alumina, silicon carbide and ceramic alumina. Aluminum oxide is the most widely used due to its durability and cost – making it great for use on hardwood floors since it wears well and leaves a small amount of residue behind when sanding with larger or coarser grits (24 – 40). Zirconia alumina is recommended for removing old finishes when sanding medium to high-pressure floated hardwoods, but also produces excellent results on many other substrates. Silicon carbide will leave minimal residue but wears more quickly than aluminum oxide so should only be used for initial rough sanding; never beyond 60-grit gradations where it may start leaving marks on the wood surface. Ceramic alumina works well for soft woods that benefit from overly aggressive abrading but can remove too much material from denser surfaces like hardwoods.
All abrasives wear down eventually so depending on the size of your job and condition of your wood floors, it’s important to check how often you need to change out your abrasive sheets or belts – usually every one to three hours intervals seems sufficient. Also note that using different levels of pressure throughout can help balance out any visible scratches caused by aggressive or uneven grinding while still providing an even finish over the entire area being worked on. While there isn’t necessarily one “correct” way to do this as there are many variables that can affect each situation depending on which type abrasive you’re using and thickness of layer being removed – usually heavier weights (more than 70 pounds) only become necessary in more stubborn finishing problems where lighter weights simply won’t suffice.
Sanding the edges and corners with an edger sander
Edger sanders are designed to sand the edges, corners and other hard-to-reach areas between the walls and the floor. This is an essential step for successfully restoring a hardwood floor. Using edgers, you prevent dips or uneven surfaces that could occur when using a larger sander.
When operating an edger sander, make sure to keep your work area well lit and ensure that you can reach the areas of the floor that you are sanding. Start by changing your edger sander pad to suit the grit of abrasive paper you are using – transfer your equipment onto the edge of one wall and guide it gently into the corner with light pressure.
Move in small circles within a 2 to 3 foot square area – start near one wall and frequently rotate back around again to ensure the edger does not skid on any particular section of flooring for too long. Ensure that a light dust mist has settled on all surfaces before moving on, this lets you know that ample stock is being taken down each pass.
After sanding each square in an area, move onto another surface until there’s an even base layer to receive your new finish coats later on. When finished with both sides of each wall corner in an area slide up along each wall until it meets up with where your main sander left off while working over its active surface field throughout those proceedings leading up until now!
Sanding the corners by hand
When sanding hardwood floors, it is important to ensure that all areas of the floor are treated equally. This includes corners, which are often hard to reach with a standard floor sander. To make sure that these areas receive the same level of attention, some hardwood refinishing projects may require sanding these areas by hand. Here are a few pointers for ensuring that your hardwood floor corners receive a proper sanding when using a hand sander:
- Make sure you have the appropriate sander for the job. Generally speaking, an orbital sander is best for this type of work because it has less power than a belt sander and will leave behind fewer marks in the corners.
- Always make sure that your sander is set at the proper speed. The faster you go, the more likely you are to damage your floor’s finish by creating scratches and gouges in it.
- Start with a grit paper that is too coarse for sanding wood floors, then gradually move up in grit size until you reach your final grit paper choice.
- Spend extra time on corners and edges – they should have an even finish after sanding is complete. It’s best if all four sides meet “dead on” (no gap in between them). To do this use cross-grain movements with your hand sander working along each corner edge one at a time until they come together side-by-side flush against one another and with equal amounts of dust build up at their sides.
Vacuuming and wiping the floor between each sanding
After you have completed the sanding pass with your floor sander it is important to remove all of the dust particles before making another pass. This way, you will have clean, freshly sanded floors that won’t suffer from too much wear and tear. To do this, use a powerful vacuum cleaner on the lowest setting and make sure that you are paying attention to all of the corners and edges where dust can accumulate.
Once you have done the vacuuming step, use a damp cloth to wipe down the entire floor surface. It is especially important to make sure that there are no wood particles or dust left in any of the grooves or crevices. Once this step is complete, you can move on to making another pass with your floor sander.

Conclusion
In conclusion, sanding hardwood floors with a floor sander can be a challenging task. To ensure the best possible outcome, it is important to prepare the area properly by removing furniture and rugs, cleaning and sealing the wood of any contaminants, clearing away any objects that will get in the way of the sander, and making sure you read the instructions before beginning.
It is also important to carry out safety protocol while sanding. Considering these tips and suggestions can lead to amazing results. Taking your time and using caution can save you time and money in terms of repairs or damage down the line.
Following these guidelines should allow you to restore your hardwood floors like a professional.
FAQ’S
How do you sand hardwood floors for beginners?
To sand hardwood floors for beginners, start with coarse grit sandpaper and gradually move to finer grits, working in a systematic pattern and avoiding over-sanding in any one area.
How do you sand hardwood floors with a sander?
To sand hardwood floors with a sander, use a drum or orbital sander with the appropriate grit sandpaper, working in sections and using progressively finer grits until the desired finish is achieved.
How do you sand hardwood floors step by step?
The steps for sanding hardwood floors typically include preparing the floor, sanding with coarse grit sandpaper, moving to progressively finer grits, filling gaps or cracks, and finishing with stain or sealant.
What grit sandpaper should I use for hardwood floors?
The grit sandpaper used for hardwood floors depends on the condition of the floor and the desired finish, but typically ranges from coarse grits like 36 or 40 to finer grits like 120 or 150.
What should you not do when sanding floors?
When sanding floors, avoid over-sanding in any one area, sanding against the grain, using too much pressure, or using worn or damaged sandpaper.
What do you put on floor after sanding?
After sanding a hardwood floor, a finish or sealant such as polyurethane or wax is typically applied to protect the wood and provide a desired appearance.
How many sheets of sandpaper do I need to sand a floor?
The number of sandpaper sheets needed to sand a floor depends on the size of the floor and the grit of the sandpaper, but typically several sheets of each grit will be needed.
What tool do you use to sand hardwood floors?
The tools used to sand hardwood floors typically include a drum or orbital sander, sandpaper, and a dust collection system.
How do you sand a floor quickly?
To sand a floor quickly, use a high-powered sander with appropriate grit sandpaper, work in sections, and move steadily but efficiently, avoiding over-sanding in any one area.
Can I sand my hardwood floors myself?
Yes, it is possible to sand hardwood floors yourself, but it requires proper equipment, safety precautions, and skill, and may be best left to professionals for more complex projects.
See more:
- Best benchtop sander 2023
- Best cabinet sander 2023
- Best detail sander 2023
- Best disc sander 2023
- Best drum sander 2023


