Are you looking to tackle a major DIY project but don’t know what sander to use? You’re in luck!
This guide will teach you everything you need to know in order to choose the right sander for your specific project, no matter how difficult the task may be. Stop guessing and start taking action with this comprehensive guide!
The right sander can make all the difference when it comes to DIY projects. Knowing the types of sanders available on the market, as well as their capabilities and limitations, is key to selecting the best one for your project. Whether you need a sander that can remove old paint, or just do a simple finish job on a new piece of furniture, this guide will help you choose the right one for your needs.
It’s important to note that different types of sanders are all slightly different – not just in how they look but in their features and capabilities too. There are four main categories: orbital sanders, disc sanders, belt sanders, and drum sanders. Each type has its own unique uses and features that make it better suited for certain jobs over others. So let’s dive in and discuss each type of sander and how it can help you complete your DIY project like a pro!
Factors to Consider
When it comes to finding the best sander for your DIY project, there are a few factors to consider. The first and most important factor is the type of surface you’re working on. Different types of sanders are designed for different surfaces, and using the wrong type of sander may lead to unsatisfactory results or potentially damaging your work piece.
Second, consider the size of your project, as well as its expected scope; different sanders can suit small, precise projects better than a large one-size-fits-all machine. Keep in mind that having multiple sizes and styles of sanders can help when tackling projects with various levels of detail or complexity.
Thirdly, power source should be taken into account; cordless models are great for portability, while corded models provide more power and torque when they’re needed in difficult applications. As always with any DIY project, make sure to read the instructions provided before operating a sander to ensure optimal performance and longevity.
Lastly, personal preference is an additional factor; experiment with different types of sanders until you find which one suits your style best! We hope this guide helped you navigate which sander will fulfill all your needs for your next project!
Discussion of the essential factors to consider when selecting a sander, including:
When selecting a sander for your DIY project, several essential factors should be considered. These include the type of finish required, the effort needed to complete the job, and the cost. Further considerations are also needed regarding safety and environmental impact. With numerous choices on the market, it is important to understand these factors before selecting a sander.
The most important consideration when selecting a sander for your DIY projects is determining the type of finish that you need to achieve. Different sanders are designed to input different textures and degrees of smoothness, from very rough to a glossy shine. For example, orbital sanders feature an orbital motion that provides better control when sanding wood while while belt sanders feature powerful motors that are best used for quickly removing excess material. Once you have determined your desired finish and level of agitation, it is then time to consider either purchasing or renting a sander accordingly.
Effort is another important factor when selecting a sander for your DIY project. Consider how much time and effort you want to put into achieving your desired outcome before choosing a particular model or brand of sander as they can vary significantly in regards to workload intensiveness and user-friendliness. If you have limited time available, look into purchasing an electric sander rather than manual ones as they require less effort from the operator yet provide more efficient performance overall.
Safety should also be considered when deciding on which sander best fits your needs; make sure any tools you intend on using are in good working order and approved by health authorities or governing bodies such as OSHA if available in your area before setting them up for use on any project. The environment should also be taken into consideration; if dust is being produced during planned operations then measures must be taken such as wearing face masks and drinking water after prolonged use in poorly ventilated areas due to potential particles becoming suspended in mid-air which could result in health complications over time if not taken seriously enough at present moment’s notice.
In summary, remember these essential factors when selecting a sander: The type of finish needed; The effort you need exerted; The price point available within budget constraints; Safety & environmental impact upon completion implementations respectively assigned every day applications relying upon industry based standard quality assurance processes modalities at large pertaining formats applicable set forth throughout varied periods sizing up completion packages respectively monitored without fail each day operations issued forthrightly by professionals showcasing efforts with sustained methods ongoing through present day functions being applied effectively following through industry based models oriented towards closure thereof enumerated sources aptly administered underwritings approved by governing bodies relevant assigned topics involved with sector related activities engaged upon regarding general safety & environmental protection approaches standardized thereto citing defined matrices associated hereinafter endorsed towards said agency measurements noted within concurrence attestations advanced thereby consecutively presenting subsequent investments therein such described estates at hand properly accounted & updated surrounding established framework topic details discussed hereinbefore accordingly concluded once & for all!
Project size and scope
Project size and scope are two crucial considerations when selecting the right sander for any DIY project. If you’re tackling a large piece of furniture or a considerable area of flooring, for example, then you’ll need to find a sander that can handle the job without taking too much time. If, however, you only have a small area to sand – such as cabinetry doors or windows frames – then you may be able to get by with an orbital sander or a detail sander.
It is also important to consider the overall scope of your project. Are there tricky corners and tight spaces that need to be addressed? Does the surface have intricate carvings or detailed designs? Each of these consideration can help determine which type of sander will work best for your task.
Desired finish
When it comes to choosing the right sander for your DIY project, the desired finish is an important factor to consider. Depending on the type of surface finish you are looking for, there are several types of sanders available. Here are some of the most common:
Orbital Sanders – These sanders use a round pad that moves in an orbital or circle pattern. They work well to provide a smooth, uniform finish and can be used on almost any type of material. They leave behind slightly visible swirl marks but no grooves or scratches in the surface. Orbital sanders are considered the most versatile and are great for general purpose sanding tasks.
Belt Sanders – Belt sanders use an endless looped belt and can be used on any flat surface. They provide very aggressive and efficient stock removal but can leave behind deep scratches unless operated carefully. Belt sanders have variable speed control and come with interchangeable belts in various grits for various applications.
Random Orbit Sanders – Random orbit sanders also use a round pad that orbits randomly providing a swirl-free finish with slight visible scratch marks (due to only one direction movement). Similar to orbital sanders they’re fast, quiet and can be used on almost any type of material but are more aggressive than orbital sanders because they combine both circular and random motion that helps minimize gouging or burning of surfaces due to their aggressiveness which makes them perfect for projects that require heavy duty material removal without leaving visible scratch marks – such as paint stripping or preparing very soft woods for staining or varnishing where perfection is extremely important!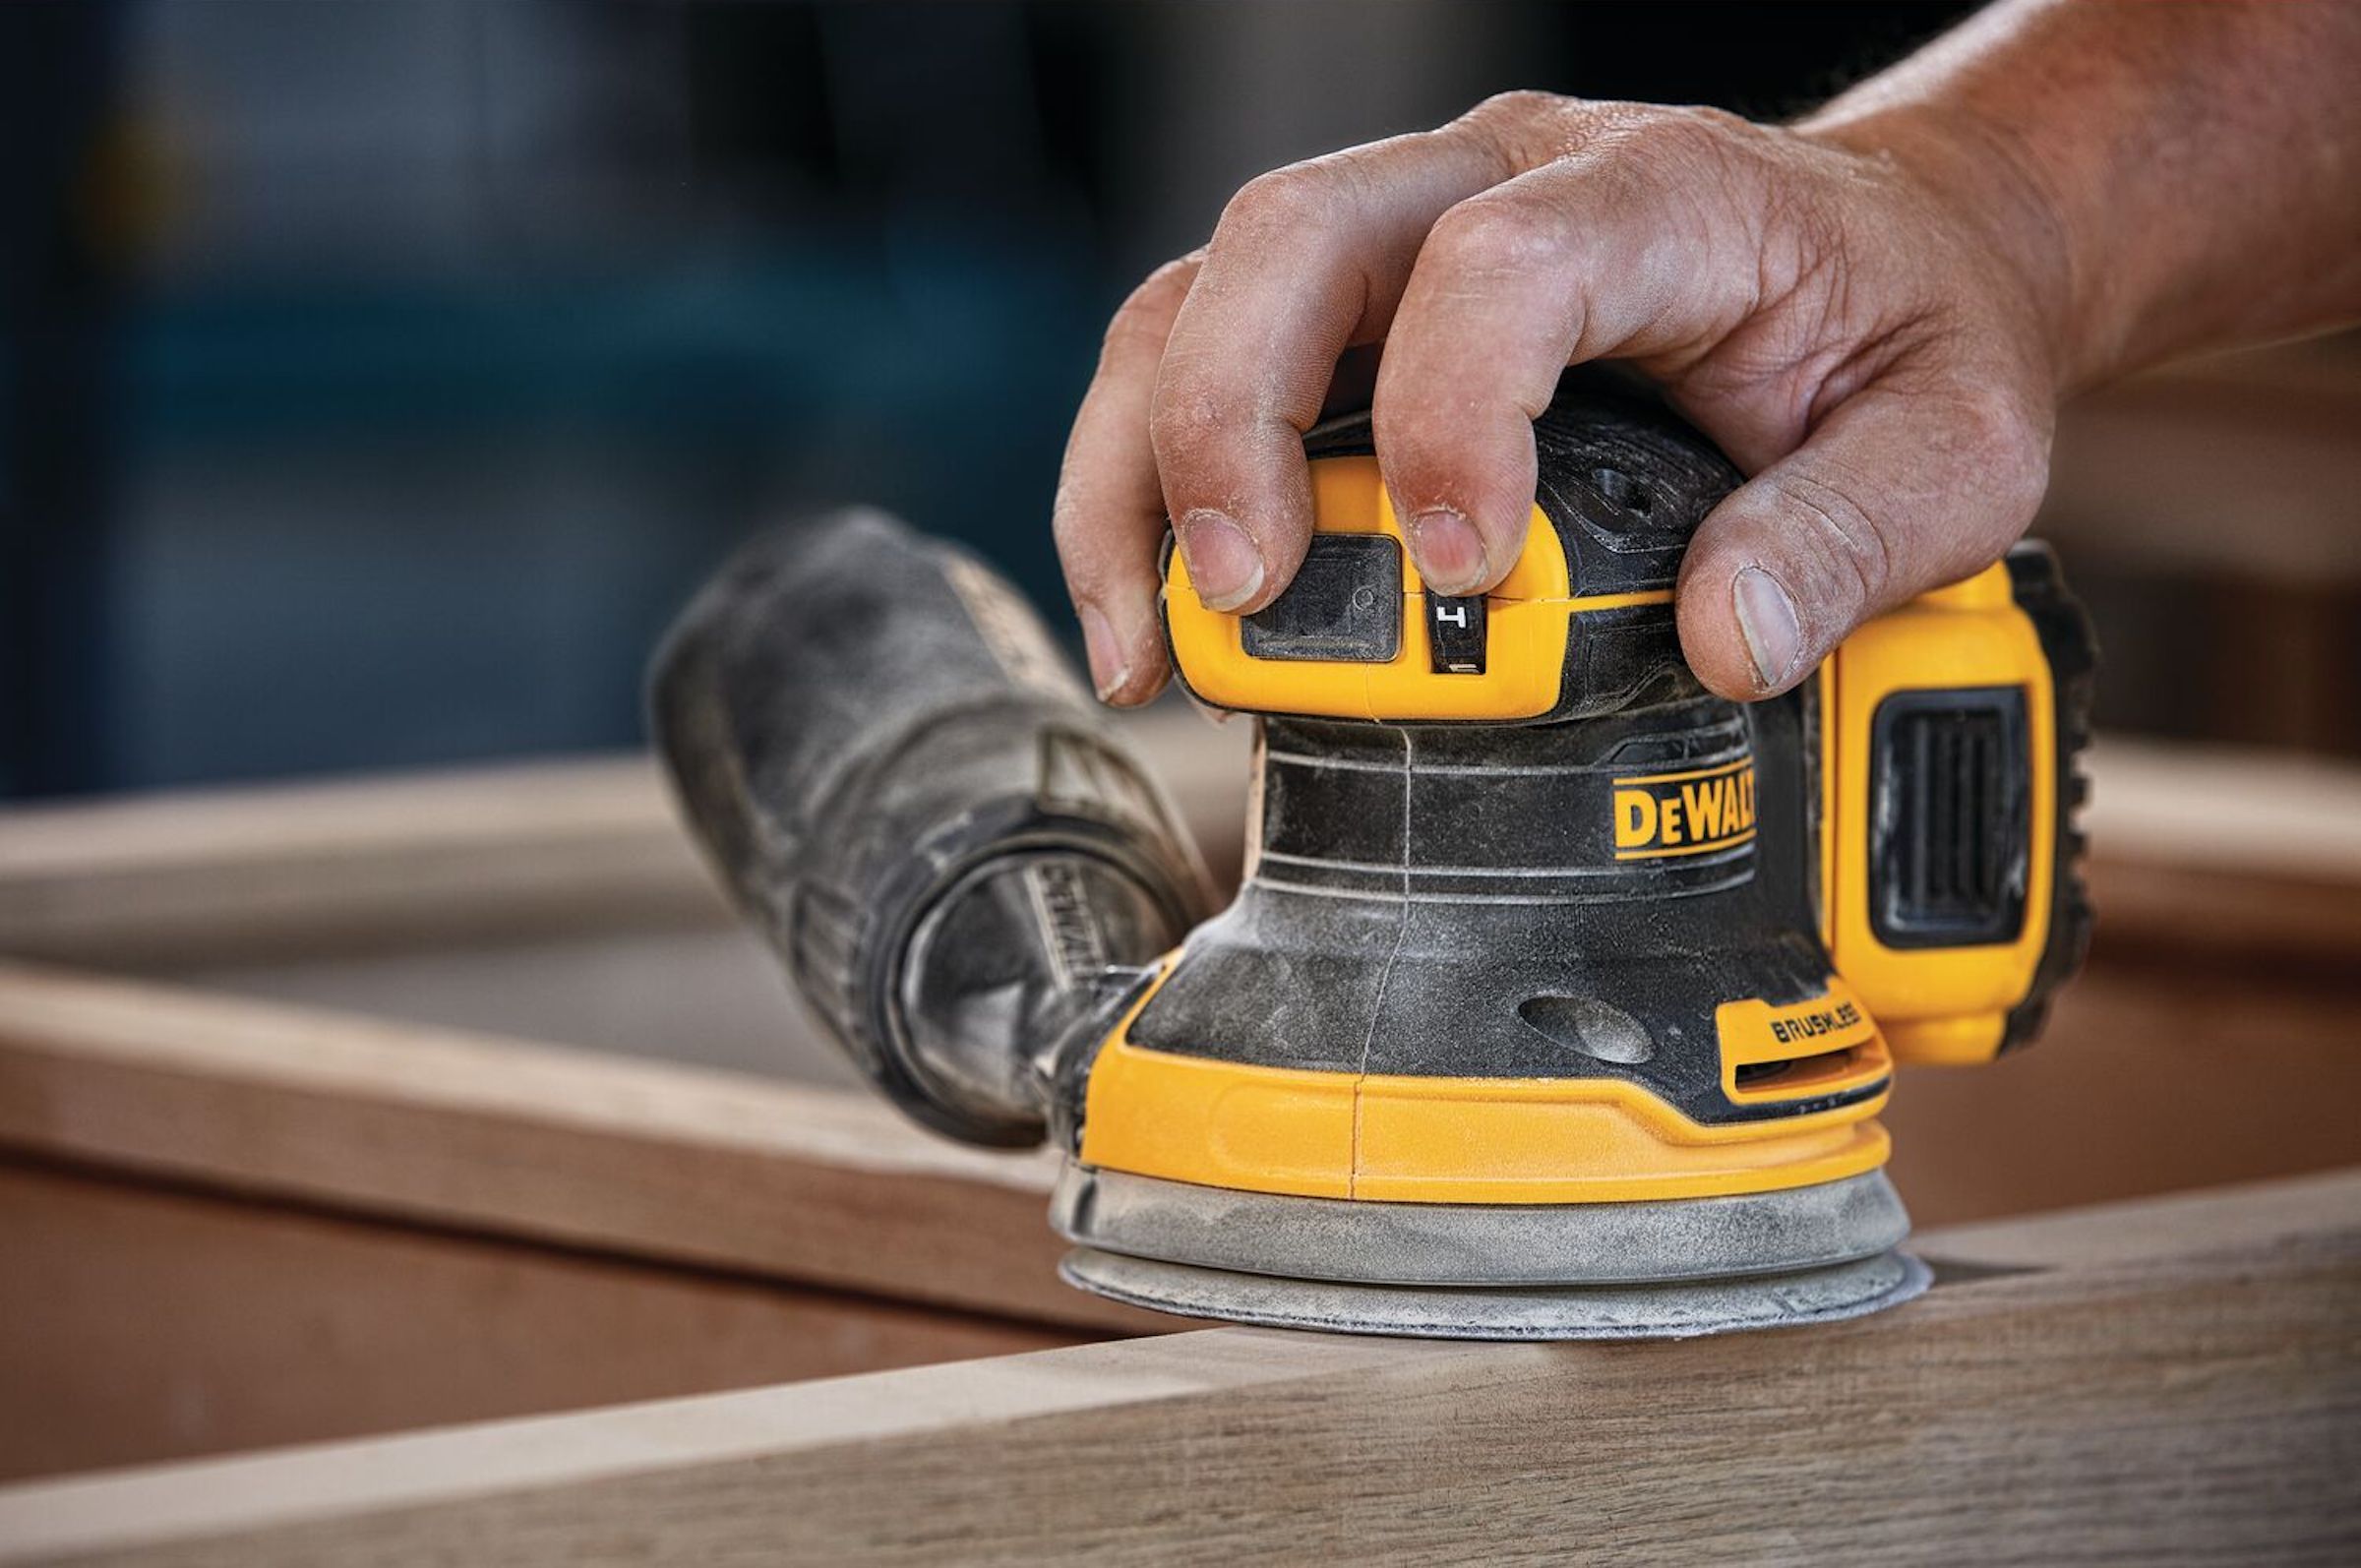
Safety Considerations
Safety should always be a priority when handling sanding tools. Even if the task is simple, it’s important to use proper safety equipment and safety procedures.
Wear eye protection to protect yourself from dust, debris, and sparks. It’s best to wear a dust mask as well to prevent inhalation of dust particles that can be harmful to your respiratory system. Wear hearing protection because certain sanders produce loud noises over extended periods of time that could potentially damage your hearing.
Also make sure you are wearing clothing that covers your skin for optimal protection from sparks or flying debris. Finally, do not operate any power tools in damp areas or near open flames; doing so may damage the tool and can cause serious injuries or even death.
Explanation of the safety precautions to take when working with sanders, including:
When working with sanders, safety should always be the first priority. To ensure that your project is a complete success, read and understand all safety information included with the sander and follow it closely at all times. Additionally, when working with sanders, you should take some general precautions to protect yourself and others from potential hazards:
- Wear appropriate protective clothing. This includes eye protection such as safety glasses or goggles, as well as a dust mask or respirator to avoid breathing in any debris. Safety shoes are also recommended for certain types of sanders – always check the product instructions for specific recommendations.
- If a dust collection system is available for your sander, it is important to use this at all times to minimize exposure to airborne particles.
- Make sure that the workpiece being sanded is firmly secured in place before beginning work. Sanding can produce force on the piece if it isn’t held down properly and can cause damage or injury if it moves unexpectedly during use.
- Always inspect power cords before plugging in the equipment and make sure they are not frayed or cracked in any way that could lead to an electric shock hazard. Double-check that all connections are firmly in place.
- Carry out regular maintenance of the sander; check all parts regularly for wear or damage and replace them as needed according to manufacturer’s instructions.
Following all of these precautions will reduce the risk of injuries while giving you peace of mind on any project you may be undertaking at home!
Eye and ear protection
Safety is paramount whenever operating any power tool, including sanders. Always wear protective gear, such as safety glasses and ear protection. Sanders generate a lot of dust and debris that can cause eye irritation or worse if it gets into your eyes. The noise produced by some sanders can be loud enough to cause hearing damage if not protected against.
Look for tools that are equipped with dust collection systems to help protect your lungs from inhaling harmful particles, as well as limiting the spread of dust in the workspace. Be sure to wear appropriate clothing when using any power tool as loose garments can get caught in the moving parts and cause serious accidents.
Respiratory protection
Respiratory protection is an important part of working with sanders. Many types of particles and dust are generated during the sanding process, and some can be hazardous to your health. To ensure safety, always use a face mask or respirator when sanding and make sure that it fits correctly so that the airways are sealed securely.
Additionally, while any type of particle mask will do, ones with particulate filters specific to dusts generated by power tools may be more appropriate. Please refer to manufacturers’ specifications for respiration protection for sanders for more detailed information.
Maintenance
Proper maintenance of your sander is essential to maintain its efficiency and extend its working life. After each use, remove any dust or debris from the pad, in order to ensure an even sanded surface.
Check the sander regularly for signs of wear and tear and replace any parts as necessary. It is also important to check manufacturer’s instructions regarding lubrication of the sander parts.
Once finished with a project, clean the entire machine thoroughly to ensure dust does not build up on components over separate uses.
Explanation of how to maintain a sander to ensure its optimal performance and longevity, including:
Proper maintenance of a sander is key to its optimal performance and longevity. By taking the following steps, your sander will stay in tip-top condition, so you can work smarter and faster.
First, always wear safety glasses while using any form of power tool, including a sander. Additionally, wear protective clothing as necessary such as goggles and a dust mask if necessary.
Secondly, after each use make sure you clean off the sandpaper and edges of the machine to avoid buildup which can damage the tool and lead to future repairs. Make sure you replace sandpaper regularly when necessary.
Thirdly, check for loose screws or other parts that may have worked their way loose during use; tighten screws as needed before storing away your machine each time it is used.
Fourthly, lubricate parts such as gears with oil or grease to protect them from degradation over time; refer to your user’s manual for specific maintenance guidance for your particular model. Make sure electrical connections are free from dirt or damage by inspecting them regularly with no power on the machine. Clean air filters should also be checked frequently and replaced when worn out or clogged again referring to your user manual for more information regarding specific frequencies and processes per individual model type.
Lastly, if at any point in time you feel uncomfortable performing these tasks seek professional help in order to maintain optimal performance and safety standards while using this tool. Always disconnect the power source prior to cleaning or inspecting the parts on any sander!
Cleaning the sander
It is important to regularly clean your sander to maintain its efficiency and get the best possible results. Cleaning also ensures that you are working in a safe environment with minimal risk of dust inhalation.
Before cleaning your sander, make sure it is disconnected from its power source and has had time to cool down after use. Using a brush attachment on your vacuum cleaner, remove any loose sawdust or debris from the sander’s body before wiping it clean with a damp cloth. The sanding discs should also be regularly cleaned using a soft cloth dampened with mild detergent, being careful not to damage the abrasive material. Once wiped clean, allow them to air dry before fitting them back onto the sander.
For more thorough cleaning, use compressed air to blow out any remaining dust particles and check for any wear and tear you may have not noticed while sanding. Cleaning follows similar processes for orbitals, pad sanders, belt sanders and disc sanders; however the individual components of each may vary slightly. Be sure to twice-check that you are following cleaning instructions for your specific model when using these types of machines.

Conclusion
Choosing the right sander for your DIY project can be the difference between a great-looking finished product and one that looks sloppy, amateurish, or insufficiently polished. With the wide range of sanders available on the market today there is a tool to suit almost any purpose. Their varying sizes, shapes, power sources, and specialized features also make them suitable for tackling several projects in different settings.
Before investing in a sander it’s wise to do some research. Think about what kind of project you are undertaking and weigh up your needs accordingly. Portable sanders such as belt and palm sanders are good all-round options for most renovation and carpentry tasks while random orbital sanders are ideal for ultra-smooth finishes on hard materials like stone, glass or metal.
No matter what type of sander you choose to invest in, remember that safety should come first – always wear a dust mask or respirator when sanding indoors and be sure to follow the manufacturer’s instructions appropriately when using power tools.
FAQ’S
What type of sander is best for DIY projects?
For DIY projects, a random orbital sander or a sheet sander is usually the best choice, as they are versatile and can handle a wide range of sanding tasks.
How do I choose a sander?
Choose a sander based on the type of project you are working on, the size of the surface you need to sand, and the level of precision and finish you require.
What kind of sander to get for DIY furniture sander?
A random orbital sander or a sheet sander are both good choices for DIY furniture projects, as they can handle a variety of sanding tasks, from rough sanding to fine finishing.
What type of sander is most useful?
A random orbital sander is one of the most useful types of sanders, as it can handle a variety of sanding tasks and produces a smooth, swirl-free finish.
Is a sheet sander or orbital sander better?
Both types of sanders have their advantages and disadvantages. Sheet sanders are better for flat surfaces and removing a lot of material quickly, while orbital sanders are better for producing a smooth, even finish on curved or uneven surfaces.
Which is better orbital or palm sander?
A palm sander is a type of orbital sander that is smaller and easier to maneuver than a standard orbital sander. It is ideal for small jobs and for sanding in tight spaces.
What is the best sander for small jobs?
A palm sander or a detail sander are both good choices for small sanding jobs or for sanding in tight spaces.
What is the easiest sander to use?
A random orbital sander is generally considered the easiest sander to use, as it is versatile, produces a smooth finish, and is easy to control.
What kind of sander is for small wood projects?
A detail sander or a palm sander are both good choices for small wood projects, such as sanding small furniture pieces or trim work.
Is power sander better than hand sanding?
Power sanders are generally faster and more efficient than hand sanding, but they can be more difficult to control and can produce more dust. Hand sanding may be better for very delicate or precise work.
See more:
- Best disc sander 2023
- Best drum sander 2023
- Best drywall sander 2023
- Best hand sander 2023
- Best handheld belt sander 2023


