If you’re planning to tackle a drywall project on your own, you’ll need to know how to sand drywall. With the right tools and techniques, you can create a seamless look that professional contractors achieve.
This guide will provide you with step-by-step instructions to help you complete your project like a pro. You’ll be amazed at the results!
With the number of different types of drywall sanders available, the task of sanding your drywall might seem like a daunting task. This guide will help you understand how to choose the ideal drywall sander for your project and use it effectively. We’ll cover the types of sanders available, safety considerations, and efficient techniques for sanding your walls quickly and accurately. By following these steps, you can expertly sand your walls in no time.
In this guide, we will discuss:
- Different types of Drywall Sanders
- Safety Considerations when Sanding Drywall
- Tips and Techniques for Efficient Sanding
- Steps for a Professional Finish

Explanation of the importance of sanding drywall
Drywall sanding is an essential part of the drywall installation process. It provides a smooth, seamless wall surface that is ready for painting or wallpaper. Sanding can also remove imperfections, such as ridges and bumps caused by the drywall sheets being installed too closely together or too loosely.
Sanding drywall is a relatively straightforward task; however, it must be done correctly to achieve the desired results. Starting with proper preparation and protection will ensure that you get the job done correctly and safely. Careful planning, measuring and awareness of how to use your sander are also important steps in order to achieve a perfect finish on your walls.
When sanding drywall with a sander, be sure to use an 80-grit sandpaper to help remove imperfections. Be sure to move the sander in an even pattern over each area of the wall until all ridges and bumps have been smoothed out. Use gentle circular motions when sanding around edges and corners for even results.
Dust collection systems are available for purchase that attach to your sander or shop vac in order to help collect dust as you work; however, wearing respirator protection gear will help reduce some of this dust from entering your lungs while sanding. Remember not to allow your dust particles from getting onto any food surfaces or children’s toys in order to keep them safe from harm.
Drywall finishing can be a difficult job if not done correctly but using the right tools and following these steps will ensure you get great results for any size project you take on!
Materials and Tools
In order to successfully sand drywall, you’ll need a few essential tools and materials.
First, you’ll need to invest in a quality drywall sander which can be rented from your local home improvement store or purchased outright. Additionally, you’ll need drywall finishing supplies including dust masks, sandpaper grits ranging from 120 to 150 grits, joint compound, putty knives of various sizes and wet sponges used for cleaning the area pre- and post-sanding.
For the best results, use flexible sheets of sandpaper because they are much easier to use on corners or other curved surfaces. You should also have trays on hand for collecting any dust created during the process.
Finally, be sure to wear long pants and sleeves as protection against small particles in the air during sanding.
List of necessary tools and materials for sanding drywall with a drywall sander
Sanding drywall is a necessary but time-consuming step in any type of drywall project. To make the job easier and more efficient, using a drywall sander is recommended. These helpful power tools can help to save time, energy, and arm strength when it comes to sanding projects. Before you get started with your sanding job, here’s a list of the necessary tools and materials that you’ll need:
Tools and Materials Necessary for Sanding Drywall With a Drywall Sander:
-Drywall sander -Drywall sander pads (various grades available) -A Variety of grit size sandpaper (for new construction use 120 grit; for repair jobs start with 80 grit and move up to 220 grit) -Extension cord (preferably heavy duty) -Safety glasses or goggles -Dust mask -Vacuum cleaner with dust collection bag or external vacuum system -Plastic sheeting to cover furniture in adjacent rooms (to reduce dust contamination)
Explanation of each item and its purpose
When it comes to sanding drywall, having the right tools makes the job much easier. Knowing which item is used for what purpose is essential in getting the job done correctly. The following list explains each item and its purpose.
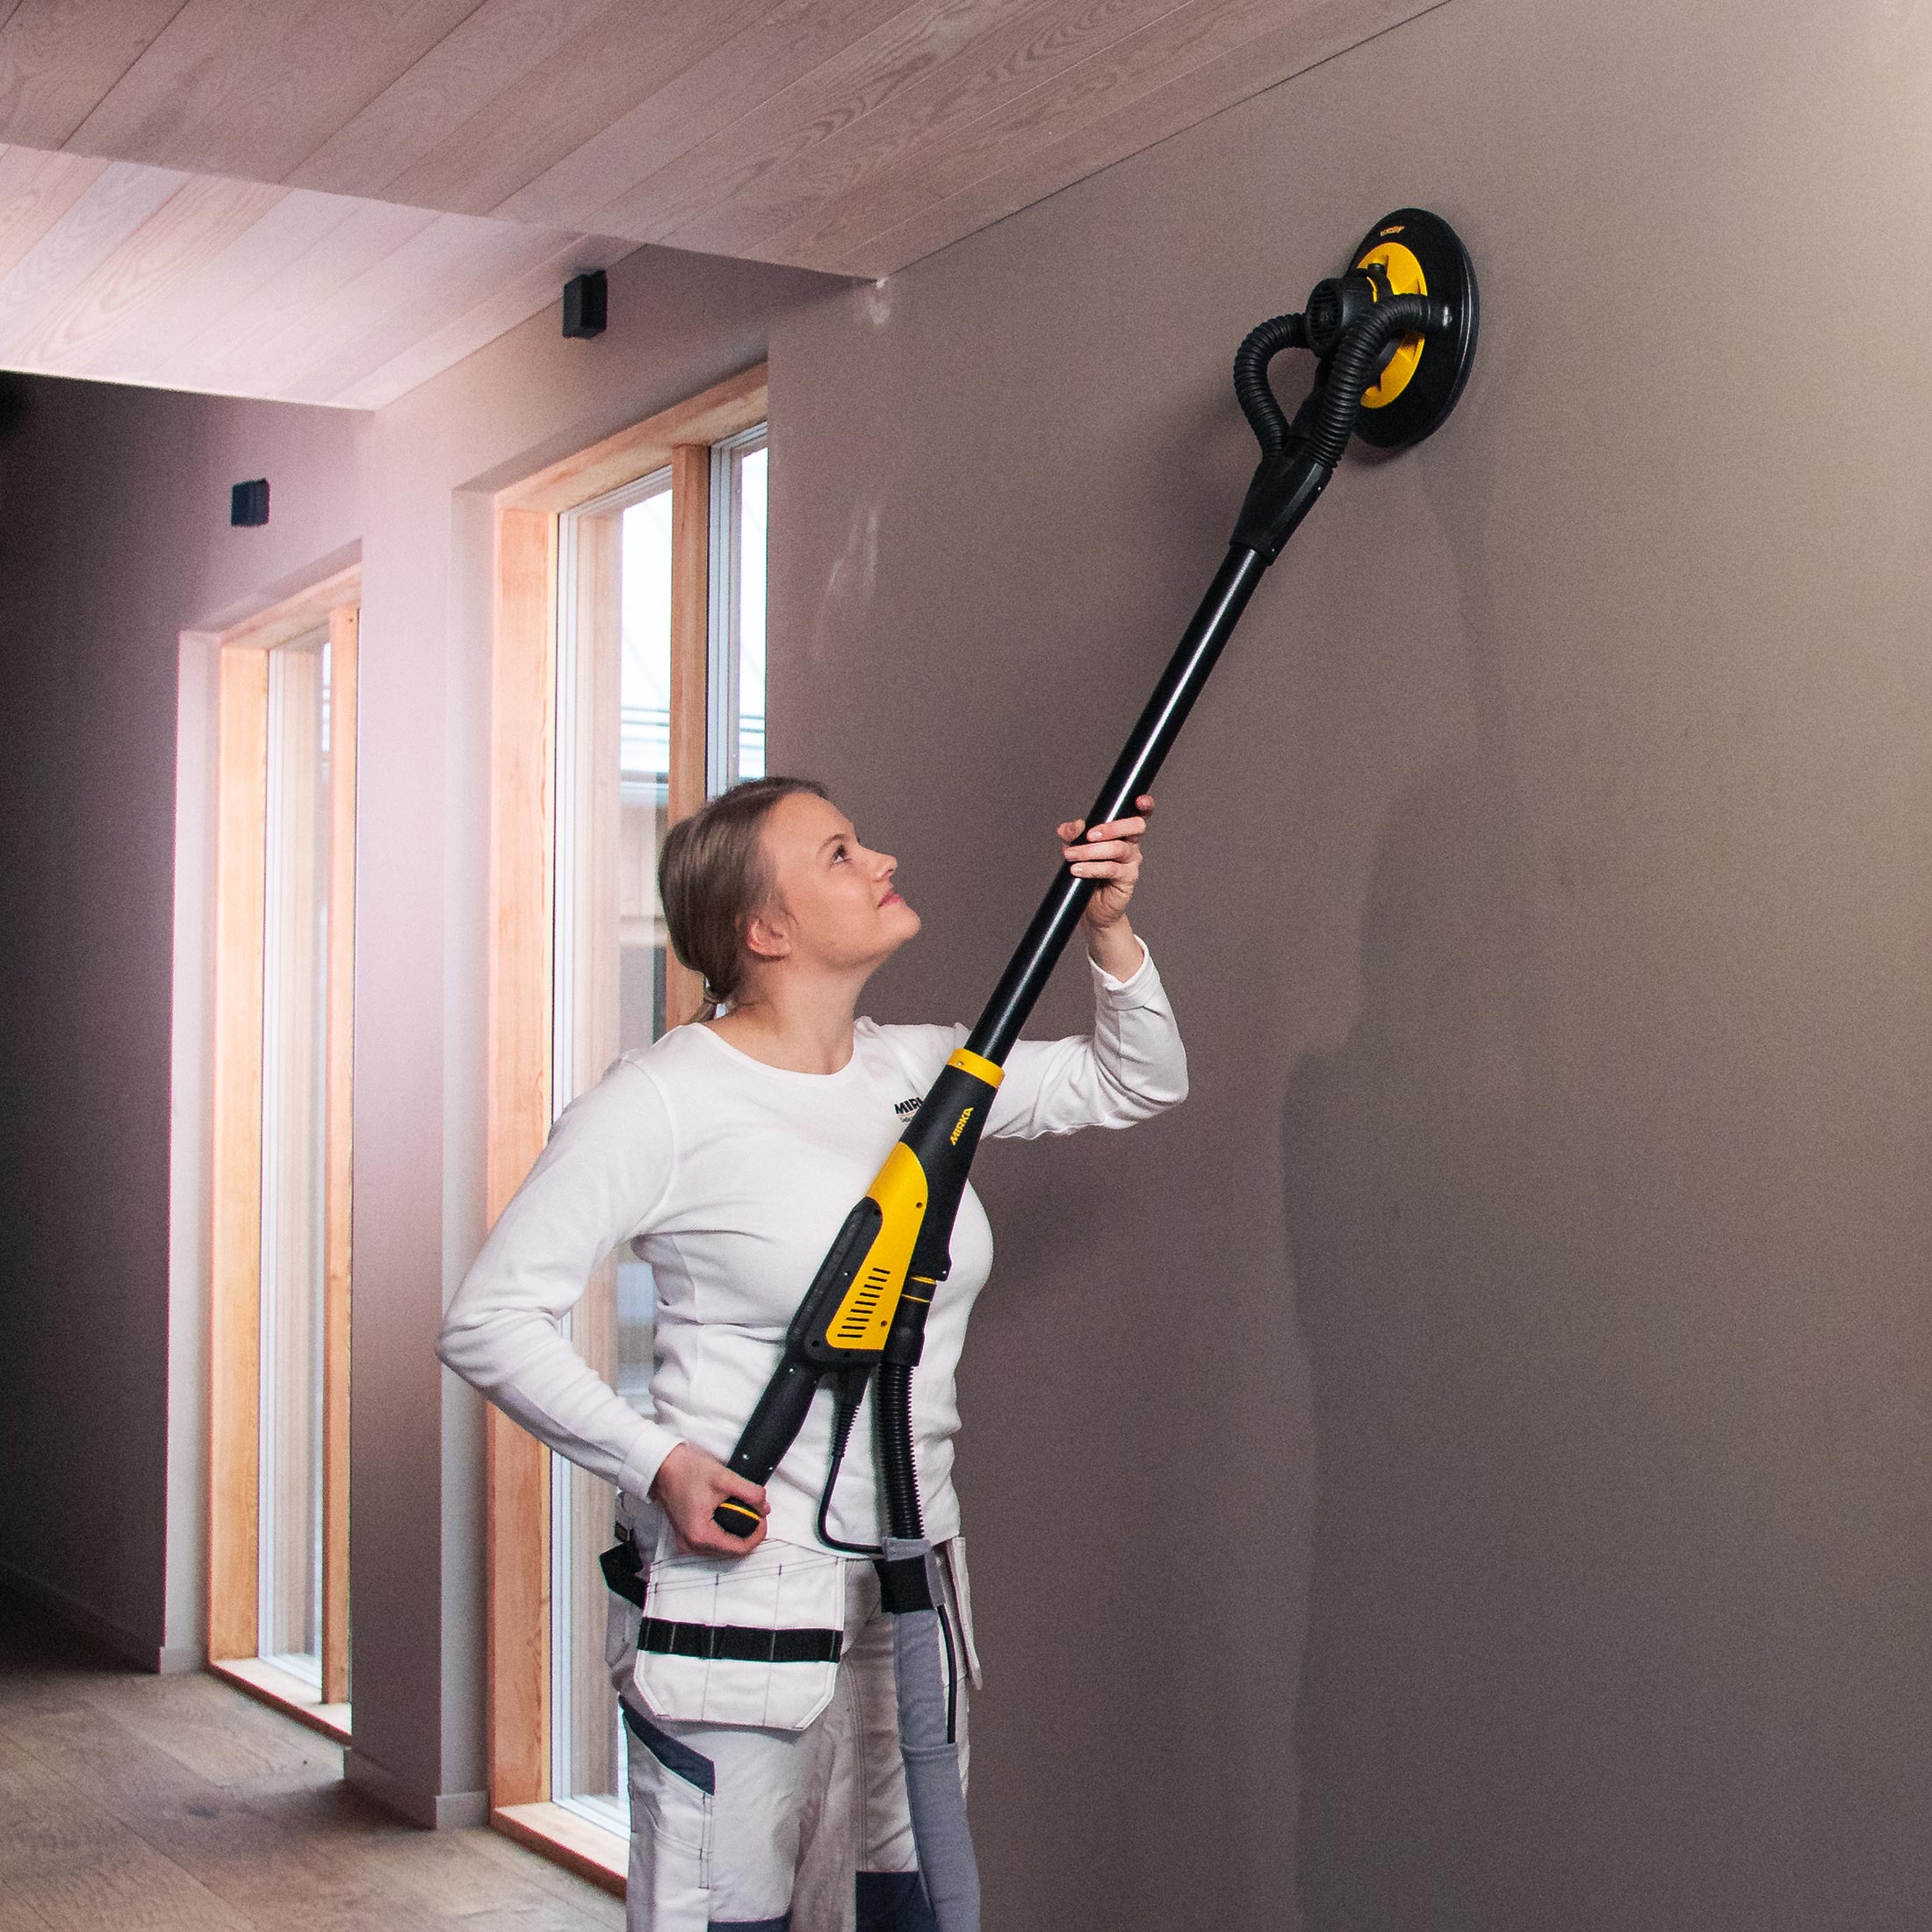
Drywall Sander: A drywall sander is an orbital sander that has a vacuum attachment to help remove dust as you work. Depending on the model you get, you may also have adjustable speed control for different types of drywall.
Sanding discs: Different grits of sanding discs are used depending on the type of finish being achieved and the surface being worked on. Generally, harsher grits should be used for removing existing coatings or preparing surfaces that require more extensive sanding; while finer grits are better for smooth-finish applications such as patching tape joints. It is important to use coarse enough disc in order to prepare and even out surfaces without excessive labor or material loss due to excessive sanding time.
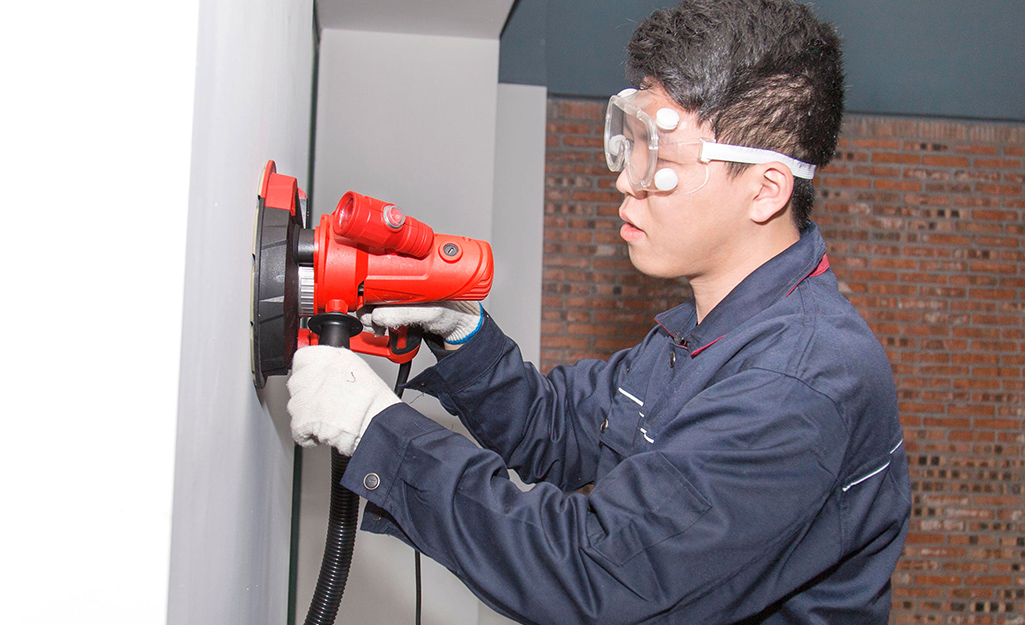
Dust mask and/or eye protection: Sanding creates a lot of dust that can be harmful if inhaled so it is important to wear a proper fitting dust mask when working with a drywall sander at all times, regardless of conditions. In addition, wearing safety goggles or glasses will protect your eyes from any residual dust particles that may accumulate during your project.
Extension cords: If necessary, long extension cords should always be used when using an electric power sander such as a drywall sander; especially when connecting from an indoor outlet to an outdoor sanding area. Extension cords will provide added protection from electrical shocks as well as providing extra length and flexibility in how far away your work area can be located from the outlet itself.
Preparation
Before getting started, it is important to prepare the room for sanding. An essential part of this preparation is the safety measures that need to be taken. It is recommended to wear a dust mask when sanding drywall, as the particles created by the sander can be potentially hazardous if inhaled.
Additionally, there are a few other steps that must be taken in order to ensure a successful project. The walls should be cleared of any furniture or other items and all electrical outlets must be sealed and covered in plastic sheeting. The floor should also be covered with plastic sheeting or drop cloths to protect against any dust that may fall while sanding. Once all of these steps have been taken, you are ready to start using your drywall sander!
Steps for preparing the work area
Before starting the project, it is essential to prepare the work area by taking safety measures. Some of these safety precautions include:
- Make sure there are no flammables, liquids or combustible materials around the working area
- Wear appropriate attire such as safety goggles, gloves and a face mask
- Cover any furniture and flooring to protect it from dust particles
- Move away any breakable items that can be affected by vibrations
Inspect your drywall sander before using it. Be sure that all parts are securely fastened and check for any loose screws or other defects in the equipment. Furthermore, ensure that you have sufficient supplies for sanding projects including sandpaper, extension poles and corner tools for tight areas. Gather these supplies before beginning your project.
Steps for preparing the drywall surface before sanding
Prior to sanding a drywall surface, it is important to properly prepare the area for the process. This includes cleaning and patching any holes or imperfections, taping and filling various seams, and priming if needed. Failing to adequately prepare the surface prior to sanding can lead to an uneven result.
When preparing the drywall surface before sanding, use these steps:
- Clean off any debris such as plaster residue or dust. Use a vacuum cleaner with a brush attachment and change out the filter after each use.
- Fill in any holes or cracks with joint compound using either a putty knife or spackling tool depending on size of hole being repaired and texture desired. Once dried, sand lightly with medium-grit sandpaper with hand-held sander if needed for small patches.
- Tape all seams with drywall tape – whichever type is appropriate for your individual project such as paper or fiberglass – affix it to wall using an adhesive spray, then cover tape with joint compound and blend in evenly. You may need multiple layers depending on desired texturing technique– scraping off excess periodically as you go; let dry thoroughly between each layer before proceeding onto next one in order to achieve smooth end result.
- (Optional) Prime wall once initial repairs have been completed in order to improve adhesion of paint when applied later on; apply primer evenly across entire wall in overlapping strokes for best coverage.
Now that you’ve properly prepared your wall prior to sanding, you’re ready to move onto the next step!
Sanding Technique
Before tackling the drywall sander, it is important that you familiarize yourself with the right sanding technique. Initially, you may find it difficult to maintain an even sanding pattern. A good technique is to press the sander firmly against the wall and keep it there until you feel a slight decrease in resistance. This will ensure that your sanding passes are even and consistent across your entire wall.
When operating the sander, move it from one side of the wall to the other in a small circular motion, making sure to overlap each pass slightly. Make sure that you don’t leave any unsanded spots between each pass or repeat areas of the wall excessively since this will cause clumps of dust and uneven surfaces on your drywall. When alternating directions on a given strip of drywall make sure that your overlapping consists of at least half of each sanding pass over another. Finally, be mindful not to press down too hard with your sander as this can cause damage to your drywall’s surface and ultimately create more work for yourself in having to go back over certain spots due to gouging or tearing effects on the surface texture.
Overview of sanding technique with a drywall sander
Sanding drywall with a drywall sander is a labor-intensive process, but it can save time and effort compared to manual sanding. The key is to know the technique for effectively using the sander and which type of sander to use for any given task. With the right knowledge and practice, you will be sanding drywall efficiently in no time.
It is important to understand the process before beginning any project. Before you begin, decide what type of tools you will need for sanding drywall depending on your desired results. There are two types of drywall sanders: disc sanders and vibrating sanders. The size of the job and complexity of finish needed will often determine which type of sander you choose.
Disc Sanders: Disc Sanders come in variable sizes ranging from 4-inches up to 12-inches, enabling them to cover large areas quickly while maintaining precise control over finishes. They are ideal for smoothing out textured surfaces or removing old layers of paint or wallpaper without leaving scratches behind or damaging underlying plaster or gypsum boards that make up your walls. While using these machines, always make sure they are properly secured before turning them on as there is potential danger in an unsecured machine being operated at high speeds for a sustained period of time.
Explanation of how to use the drywall sander correctly
Drywall sanders make it easy to quickly and effectively smooth the imperfections in a wall. The majority of drywall sanders use an electric motor to operate, but hand-held models are also available. The following steps provide a guide for using a drywall sander correctly.
- Start with the right supplies: You’ll need dust masks and safety glasses, plus joint compound, primer, and paint if you plan on repainting afterwards. If you have any valves, door jambs or other items that need to be protected from dust and debris during the process, cover them up with plastic sheeting.
- Test the sander: Before beginning with your drywall sander, test it on scrap wood or paper first to ensure that the machine is working correctly. Take note of how long it takes for the sander to smoothen out bumps or rough spots on the wall; this will help you know how long each area needs sanding for proper results.
- Sand in straight lines: For best results, lightly press down and sand in straight lines following the natural lines of your walls until you achieve your desired finish or level of smoothness is achieved; avoid stippling while sanding. Gently move your hand back and forth as needed if there are areas that require more intensive work than others. When sanding near ceilings or ceilings corners, start at one end and work your way in towards yourself gradually so you don’t miss any spots or create unevenness due to over-sanding on one side versus another.
- Vacuum off any residual dust: When softening edges or creating a smooth finish has been achieved with your drywall sander use a shop vacuum cleaner equipped with an appropriate size filter bag designed for fine particles such as gypsum dust; do this regularly throughout the process of sanding when necessary to eliminate any excessive buildup of dust which can reduce visibility as well as interfere with attaining an even result when painting over afterwards if desired thereafter; then finally
- Dispose of all materials properly: After all work has been completed using your drywall sander dispose all residue gypsum material collected such as filter bags parts etc in accordance with local disposal regulations properly observe all safety precautions while doing so until finished accordingly without fail.
Tips for achieving a smooth finish
Once you have installed a new drywall, you must prepare the area for painting. Doing this requires sanding the surface of the drywall to achieve a smooth finish. A drywall sander is the best tool to use in this process as they are specifically designed to make smooth, even passes across your wall. This guide will provide some simple tips on how best to sand a drywall with a drywall sander so that you can achieve an even and professional finish every time.
The first step is to wear eye protection when using your sander and vacuuming up any dust created by the job. This will protect your eyes from any debris that can be easily kicked up by wind or natural wear and tear of the tools being used. It is also important to remember that sanding is a two-step process – first, use coarse-grit paper followed by fine-grit paper for more detailed work. By using both grades of paper you will be able to get more even coverage and create less dust in the room at once.
Make sure your sanding pads are regularly cleaned and inspected for fraying or worn down areas which can cause uneven spots on your walls after drying them down. Once you are done each pass, vacuum up all loose dust particles from both floors and walls with an appropriate vacuum cleaner so that no particles remain after you’ve completed painting or staining work later on. Finally, inspect all of your work before applying any paint or stain as it is much easier to fix imperfections while they are still visible compared to trying to fix them after they have been painted over!
Conclusion
In conclusion, sanding drywall requires a careful and planned approach in order to achieve the desired finish. Make sure that you give yourself enough time and prepare all the necessary tools before you start. And when sanding your drywall, always use the appropriate sanding machine as per its intended purpose.
Drywall sanders are a great tool to have in any home improvement project that involves sanding down drywalls. With proper technique and care, these machines will produce a smooth and well-finished surface in no time at all.
FAQ’S
What is the best method for sanding drywall?
The best method for sanding drywall is to use a drywall sander or sanding pole with a fine-grit sandpaper.
How do you sand drywall quickly?
To sand drywall quickly, use a drywall sander with a higher grit sandpaper and move in a circular or back-and-forth motion.
Is drywall sander better than hand sanding?
Yes, a drywall sander is better than hand sanding as it is quicker, more efficient, and results in a smoother finish.
Is drywall sanding better wet or dry?
Drywall sanding is typically done dry, but wet sanding can be used for particularly dusty jobs to reduce airborne particles.
How many times do you sand drywall?
You should sand drywall at least two to three times, starting with a coarse-grit sandpaper and gradually moving to a finer grit.
How hard should you push when sanding drywall?
You should apply light pressure when sanding drywall to avoid damaging the surface or creating an uneven finish.
How do you smooth drywall before painting?
To smooth drywall before painting, use a drywall sander or sanding pole with a fine-grit sandpaper to remove any bumps or ridges.
How do you use a drywall sander?
To use a drywall sander, attach the sanding pad to the pole, turn on the power, and move the sander in a circular or back-and-forth motion.
What is the disadvantage of sander?
The disadvantage of a sander is that it can be noisy, produce dust, and be more difficult to maneuver in tight spaces.
What are the disadvantages of using a sander?
The disadvantages of using a sander can include producing noise and dust, as well as potentially damaging the surface being sanded if used improperly.
See more:
- Best orbital sander 2023
- Best oscillating sander 2023
- Best palm sander 2023
- Best random orbital sander 2023
- Best sander 2023


